
For service please call
937-210-9541 or
Request Service Here
Eddie and Chuck go over how to use the Darex XT-3000 Drilll Sharpener while talking about the benefits of sharpening your drill bits. See how much we have reduced tooling costs by using the Darex. Watch as we demonstrate how to properly sharpen each drill to give it the best life expectancy. Learn about the ROI of owning the Darex Drill Sharpener.
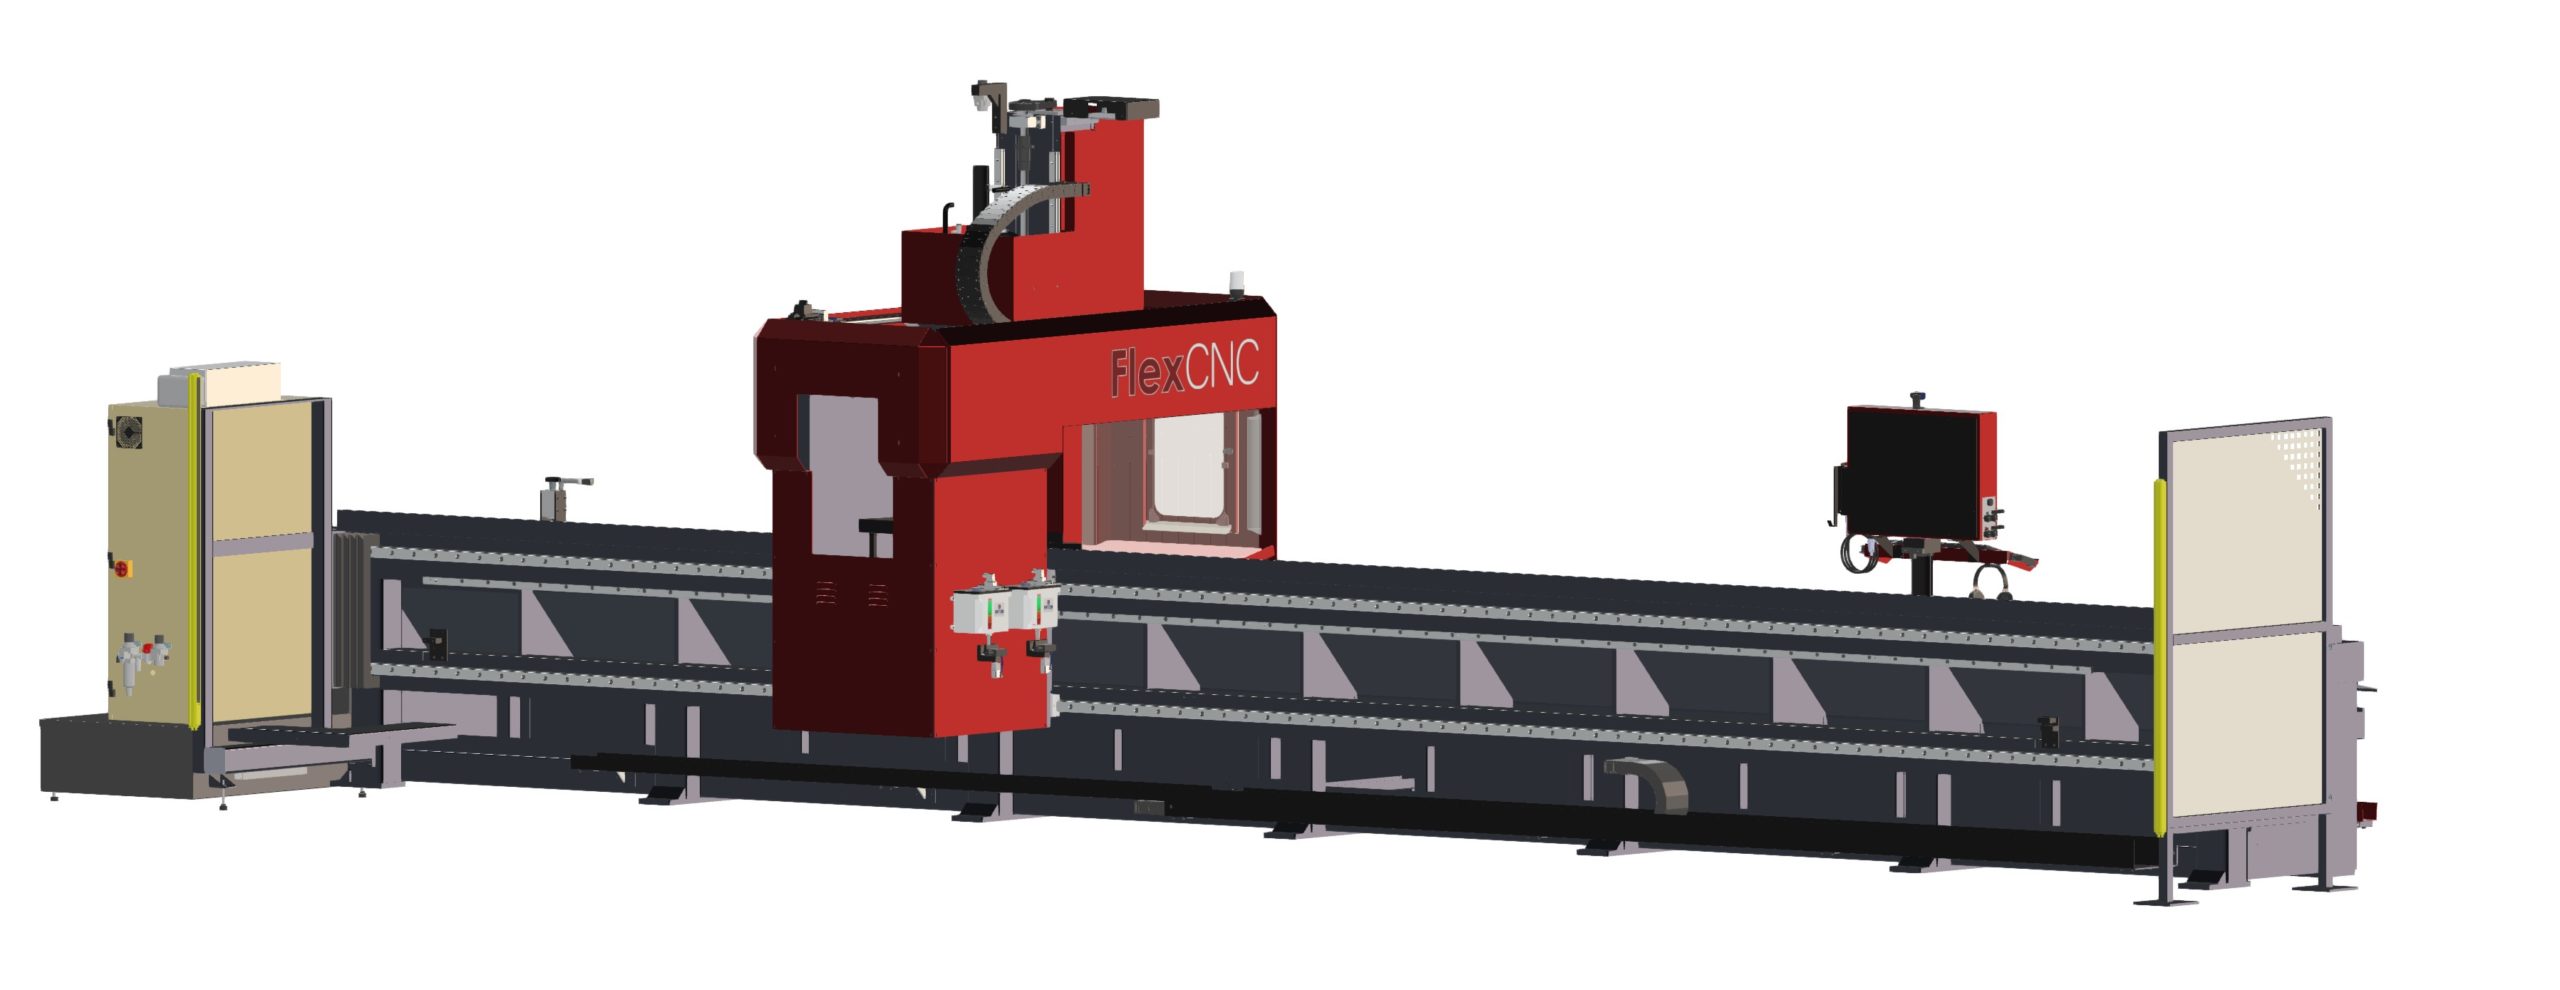
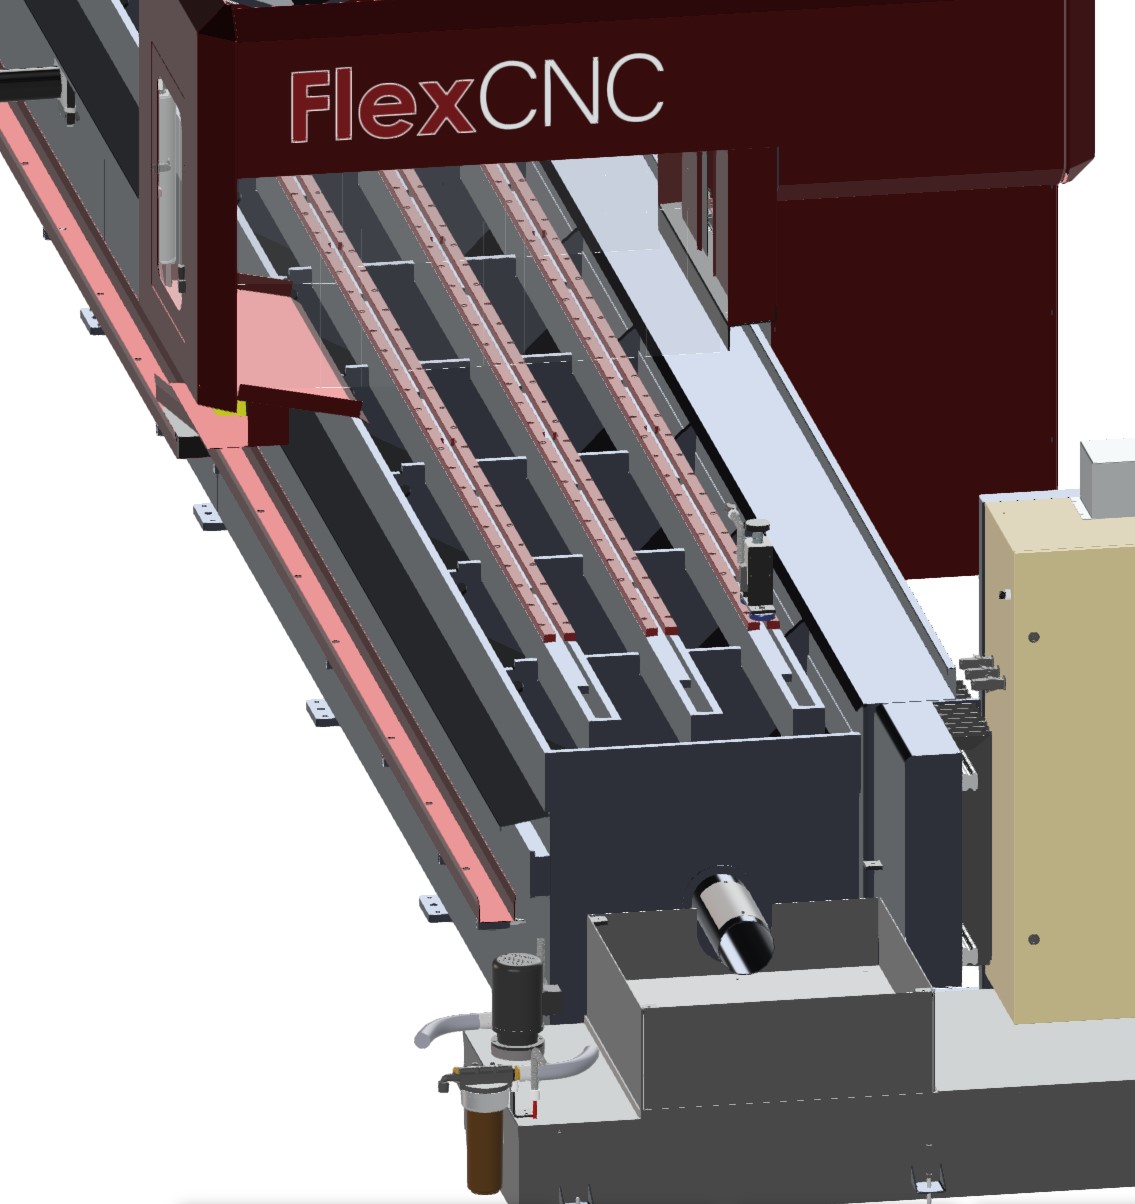
The FlexCNC is a highly automated functional machine that employs a vertical spindle and worktable orientation, allowing operations on a horizontal machining bed. The FlexCNC can perform various functions for numerous specialized projects, saving you space and money with...
Read MoreFlex Machine Tools is excited to launch a new product that will revolutionize your workshop: the Flexible Tapping Center (FTC). This specialized machine is equipped with superior precision, innovation, and performance to produce quality products for your business. Typically,...
Read MoreWhen selecting machinery for your company, deciding what tools will work best for your product can be overwhelming, and it can feel like a risk when you need to know if the product you bought will be the right...
Read More
HP |
Max RPM |
FT/LBS |
Series |
|---|---|---|---|
|
18 |
4000 |
92 |
C-20-02 / C-10-02 |
|
18 |
6000 |
61 |
C-20-02 / C-10-02 |
|
33 |
12000 |
61 |
CM-20-02 |
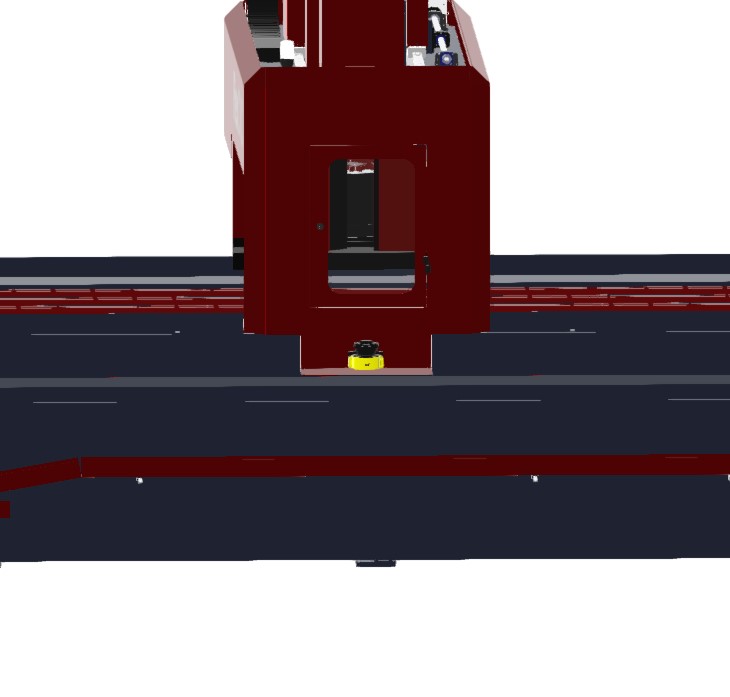
Auto Stand-Off – This is currently defined to be surface stand-off and not to be confused with vector stand-off in 5-axis mode. The current auto stand-off is based on a changing surface and will adjust vertically based on the angle of the “A” Axis, so there is five (5) axis taken into account during the calculations, but this is not the same as the tool vector stand-off. There is the ability to do the vector stand-off change while the machine is running manually with buttons on the screen.
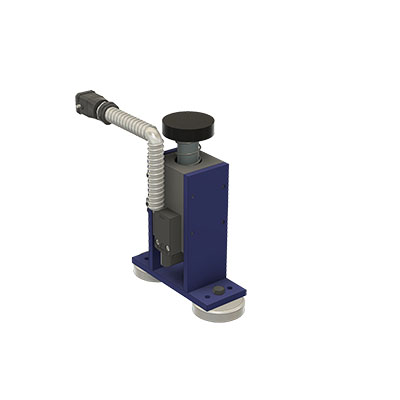
Z-Reader Probe – The Z-Reader is a device for mapping the location of the surface. It can be controlled manually & programmatically. The option is NOT active while cutting & is retracted out of harm’s way. It can be triggered to verify the surface at every pierce before the cutting process starts, or it could be used to drive surface mapping of the whole part before cutting starts. It begins with initialization or zeroing of the device to the surface at the beginning of a program and then accumulates or tracks the difference from that zeroing effort.
Automatic Edge Finder – The edge finder is or can be utilized manually (Jogging Method & Screen Buttons), programmatically (M & G codes), or fully automatic routine (dedicated program). This option sets offsets & program rotation to match the orientation & location on the cutting table.
AC Unit Installed on Electrical Cabinet – The unit is mounted on the cabinet’s High Power (480v) side. It is close to the location where the drives are mounted. This option keeps the cabinet temperature stable and allows heat dissipation faster. The servo drives for all axes are the most significant contributors to heat inside the electrical cabinet.
5-Axis Renishaw Calibration – The calibration unit is a Renishaw model APCA45 with a modified spherical stylus. The device has a retractable cover and air purge to clear debris & dust during the activation process. It mounts to a swing arm controlled by a pneumatic rotary, so it is out of the way during regular operation and swings into the calibration position for calibration only.
HP |
Max RPM |
FT/LBS |
Series |
|---|---|---|---|
|
18 |
4000 |
92 |
G-20-06 / G-10-06 |
|
18 |
6000 |
61 |
G-20-06 / -10-06 |
|
40 |
4000 |
217 |
GM-20-06 / G-20-06 / G-10-06 |
|
40 |
6000 |
145 |
G-20-06 / G-20-06 / G-10-06 |